

 English
 عربى
The short answer first: most extractor fan motors can be cleaned with dry methods, a soft brush, a vacuum and a small amount of degreaser on metal parts only. What you should not do is wash the motor, soak the windings, or spray solvent into the bearing seats and expect it to survive the week.
A kitchen extractor motor usually fails from a slow coating of cooking grease, not from age. That coating traps dust, dries into a sticky film, closes the small cooling passages around the stator and works its way into the bearings. The motor then runs hotter, the insulation ages faster, and the first symptom most people notice is a rumble or a loss of suction rather than an electrical fault.
Why Grease Reaches the Motor at All
Air leaves the hob carrying vaporised fat. Baffle and mesh filters catch a large share of it, but the finest fraction passes through, and that fraction is the stickiest. It condenses on the cooler surfaces it meets downstream: the impeller, the scroll housing, the motor bracket and finally the motor body itself.
Two consequences matter for cleaning. First, an impeller that is only half a millimetre out of balance will vibrate, and that vibration travels straight into the motor bearings. Second, most extractor motors are cooled by a small fan on the shaft that pushes air across the housing; once the vents and fins are coated, the winding runs several degrees hotter than it was designed to. Insulation life drops quickly with temperature, so a dirty motor and a hot motor are usually the same motor.
A motor that smells of hot varnish has already answered the question. Cleaning is for grease on the outside; the smell means the damage is inside.
Safety First: Isolate, Wait and Photograph Everything
Extractor fans are normally fed from a fused spur, and the switch on the hood is a control, not an isolator. Work at the consumer unit, or unplug the appliance if it is supplied by a plug and cord.
- Switch off the circuit and remove the fuse or lock the breaker before you touch a screwdriver.
- Wait before handling the wiring. Capacitor-run motors can hold a charge after isolation; leaving the appliance disconnected for several minutes is the simplest precaution.
- Photograph the wiring, the connector orientation and the capacitor position before disconnecting anything. One photograph saves an hour of guesswork later.
- Remove the filters and soak them separately in hot water with a degreasing detergent. Never soak them on the appliance.
- Support the motor when you release its bracket. These units are dense, and a dropped shaft can bend the impeller or crack the housing.
Cleaning the Extractor Fan Motor, Step by Step
1. Clean the impeller and blower first
Most of the visible grease sits on the impeller, not on the motor. Where the design allows removal, take the impeller off and mark its position on the shaft first so it goes back the same way. Scrape the heavy film with a plastic scraper, then work a soft brush and a vacuum with a brush nozzle into the blade roots. Metal impellers tolerate a rag dampened with degreaser; on plastic, test any solvent on a hidden area, because some solvents craze polypropylene and ABS.
2. Clean the motor body with dry methods
Brush the loose dust off the housing, vacuum it away, then wipe painted metal with a rag wrung almost dry. Keep that rag away from vents and terminal covers. If you need to work close to the windings, bag the motor and leave only the shaft and mounting face exposed.
3. Open the cooling path
Vents, fins and the small shaft-mounted fan matter more than the outside of the housing. Clear them with a soft brush and low-pressure air. Hold the fan still while you use compressed air; an unloaded motor can spin far past its rated speed and damage its own bearings.
4. Treat the shaft and bearings with restraint
Sealed bearings cannot be re-greased — they are replaced, not refreshed. Sintered bronze bushings will take two or three drops of light machine oil at the shaft junction, and no more, since excess oil attracts dust. Turn the shaft by hand: a rough, gritty or tight feel means bearing replacement, and there is more detail on reducing bearing failures if you want to go further.
5. Reassemble and verify
Refit the impeller, check that it clears the housing, then run the fan. Hold a tissue against the grille to confirm suction, listen for ten minutes, and if you have a clamp meter, compare the current draw against the rating plate. A motor pulling close to its rated current with clean filters is telling you it is near the end of its service life.
What Not to Do to an Extractor Fan Motor
- Do not immerse the motor or spray it with a hose, pressure washer or steam cleaner.
- Do not use oven cleaner on aluminium parts; caustic cleaners pit aluminium housings and impellers.
- Do not pour solvent into bearing seats or the winding bundle to "flush" the grease out.
- Do not run the motor at full speed with the impeller removed for more than a few seconds.
- Do not refit a capacitor that has bulged, leaked or changed shape.
- Do not force a stiff shaft to turn with pliers; the shaft bends before the bearing frees up.
Is the Motor Worth Saving? A Quick Judgement Table
Cleaning is worth an hour of your time only if the motor is still mechanically sound. Use the table below to make the call before you start dismantling anything.
| Condition | What it suggests | What to do |
|---|---|---|
| Thin dry film on the housing, shaft turns freely | Normal service condition | Clean and reassemble |
| Sticky film on the blades, hood vibrates | Imbalance from grease build-up | Clean the impeller, check balance and mounting |
| Motor hot after ten minutes, weak airflow with clean filters | Blocked cooling path or a failing winding | Clear the vents, retest, replace if it still runs hot |
| Grinding or rumbling, shaft moves in and out | Bearing wear | Replace the bearings or the motor |
| Hums but will not spin, capacitor bulged | Start circuit fault | Replace the capacitor, retest, replace the motor if it still stalls |
| Burning smell, darkened windings | Insulation breakdown | Replace the motor; do not clean |
In practice, the third and fourth rows are the ones that catch people out. A motor that runs hot with clean filters is often saving up a failure, and a rumbling bearing rarely improves after a clean.
Choosing a Replacement Motor That Tolerates Grease
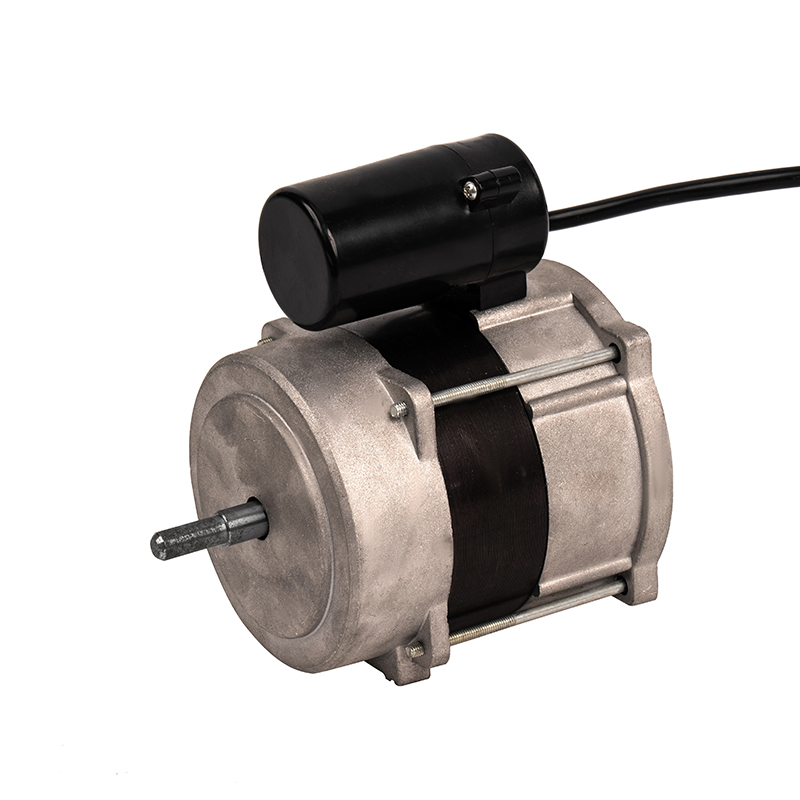
When the verdict is replacement, the parts are inexpensive relative to a service call but they are not universal. Match the supply voltage and frequency, the rated speed, the shaft diameter and length, the body diameter, the mounting holes and bracket orientation, the capacitor rating printed on the old component, the direction of rotation as seen from the mounting face, and the duty rating from the rating plate. A single-phase capacitor-run asynchronous motor of the wrong speed will fit perfectly and still leave the hood underperforming.
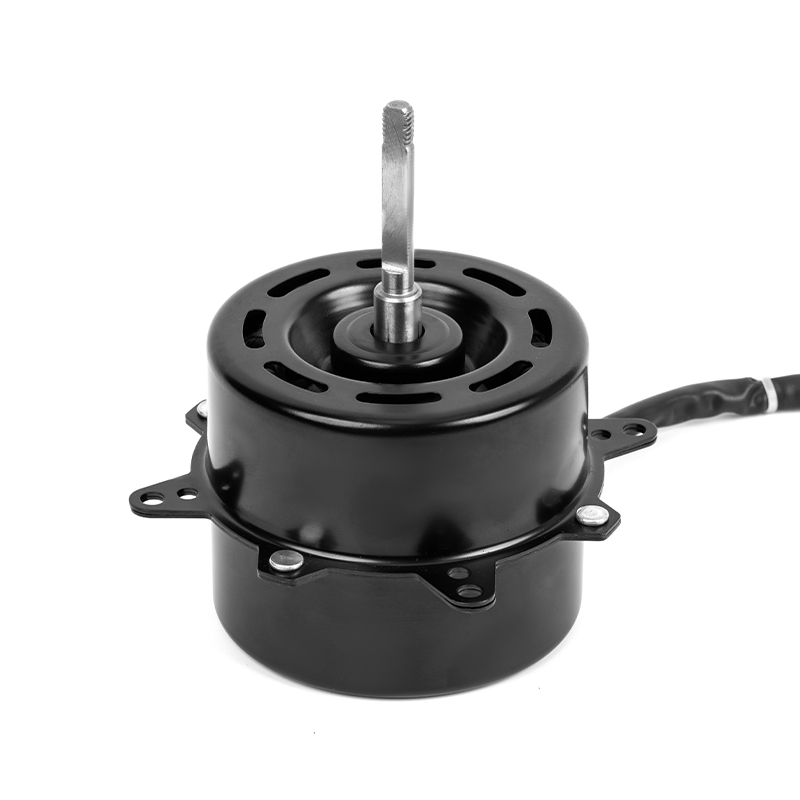
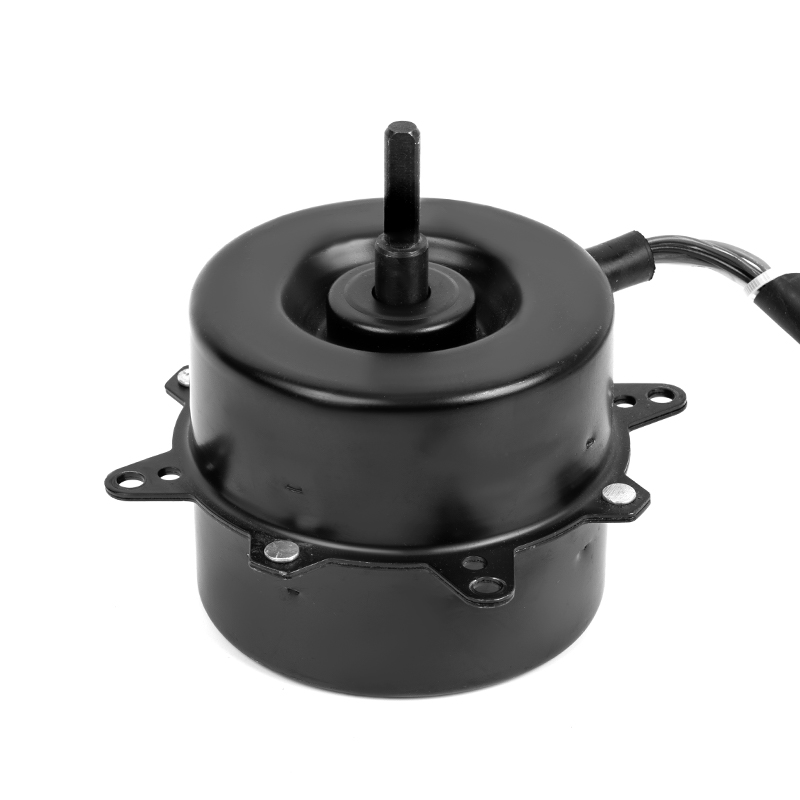
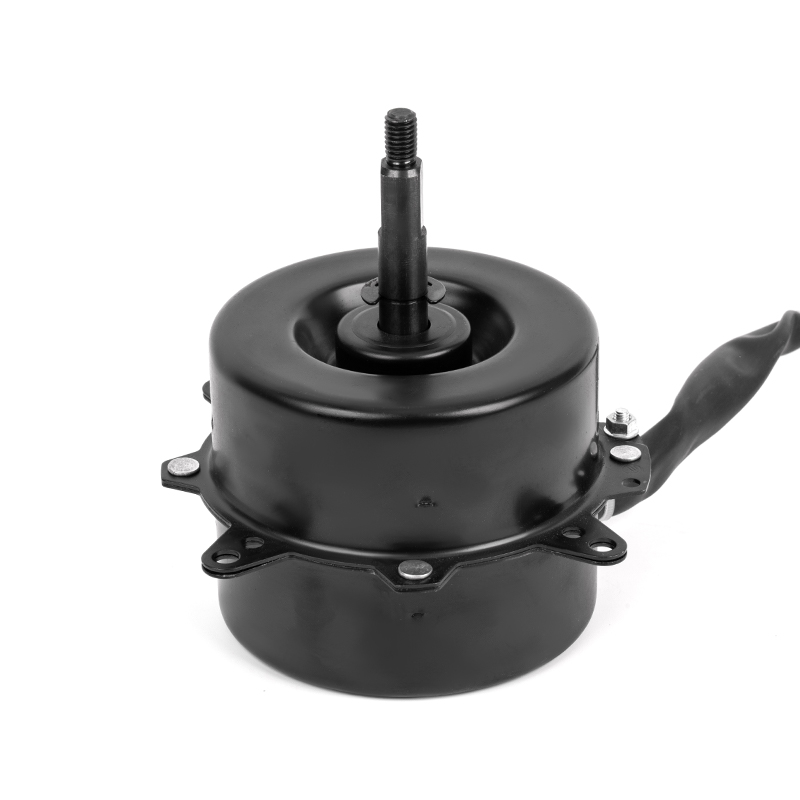
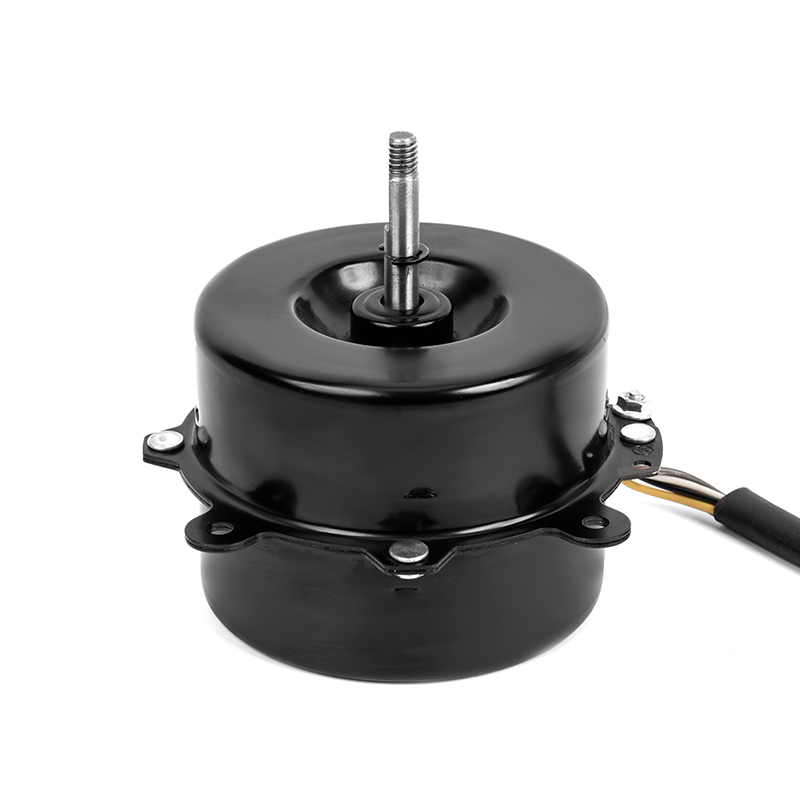
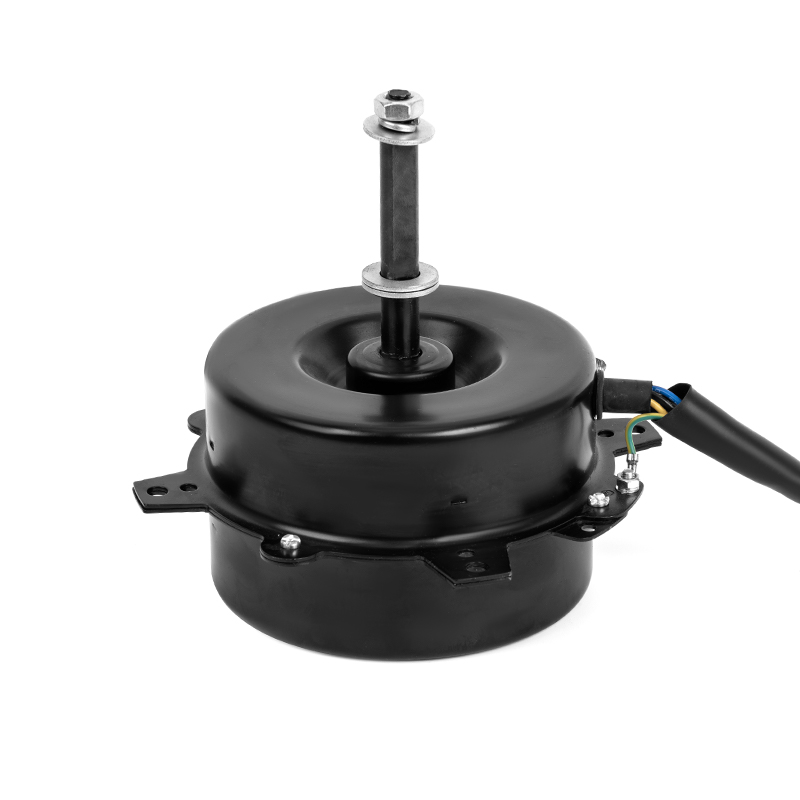
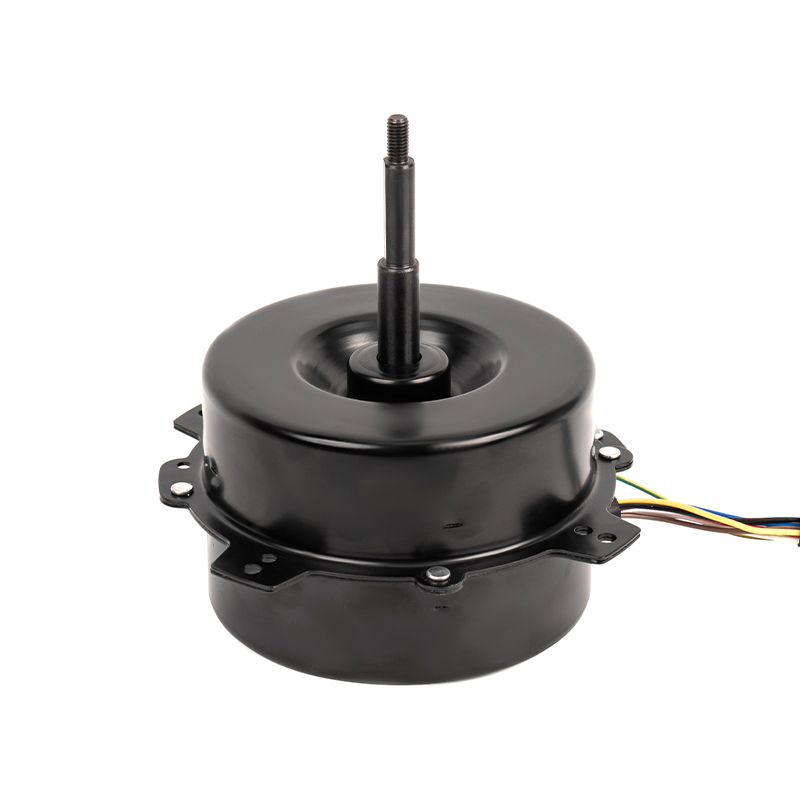
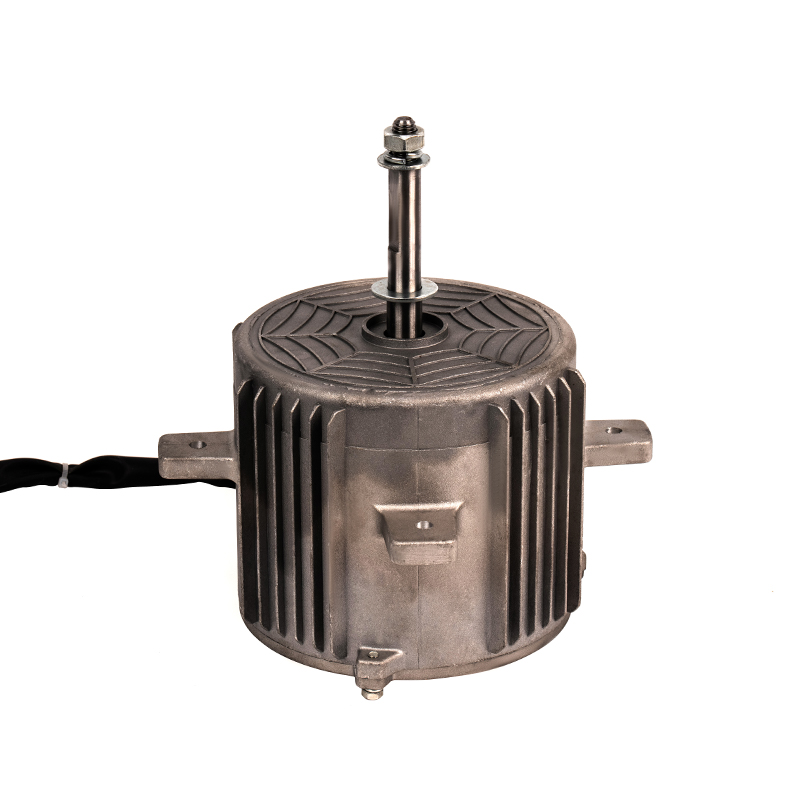
For kitchen duty, enclosure design earns its keep. Open-frame motors cool well but collect grease on the winding; fully encapsulated versions seal the stator in plastic so oil, moisture and detergent cannot reach the coils. That construction is why plastic-encapsulated oil fume motors have become the default in hoods sold into humid or heavily used kitchens.
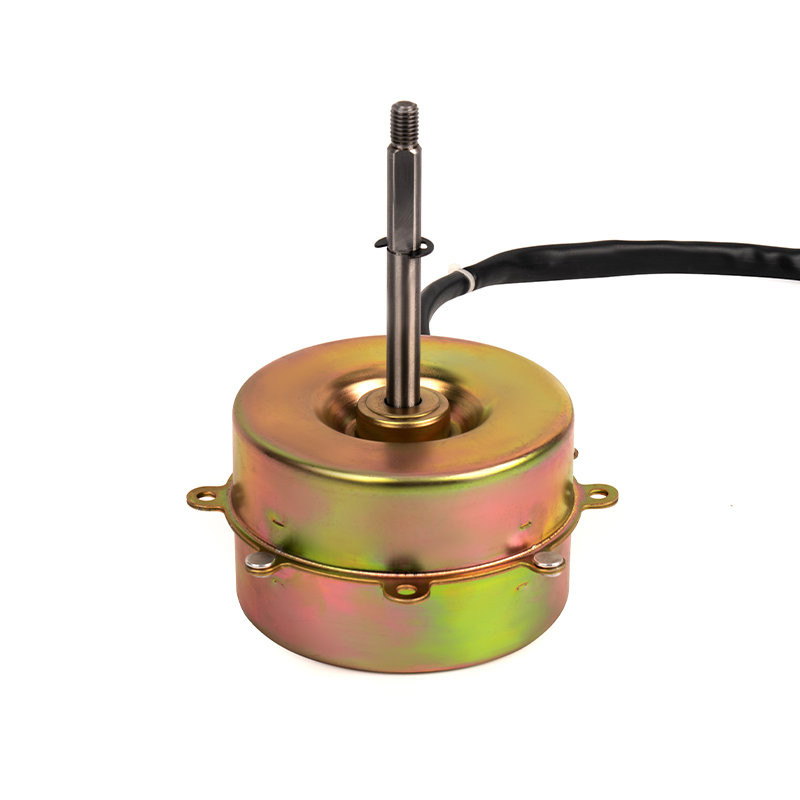
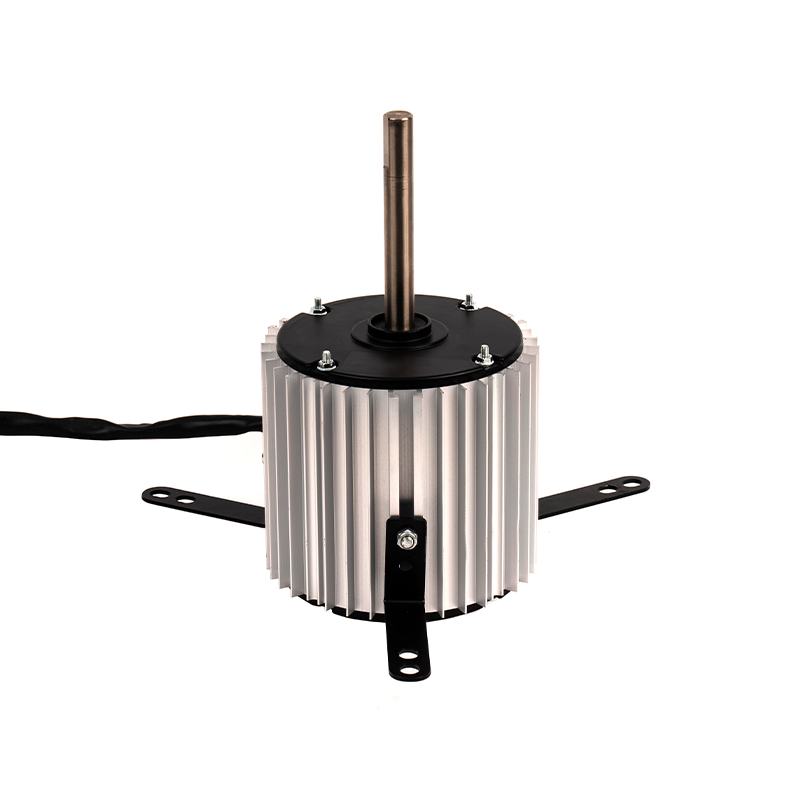
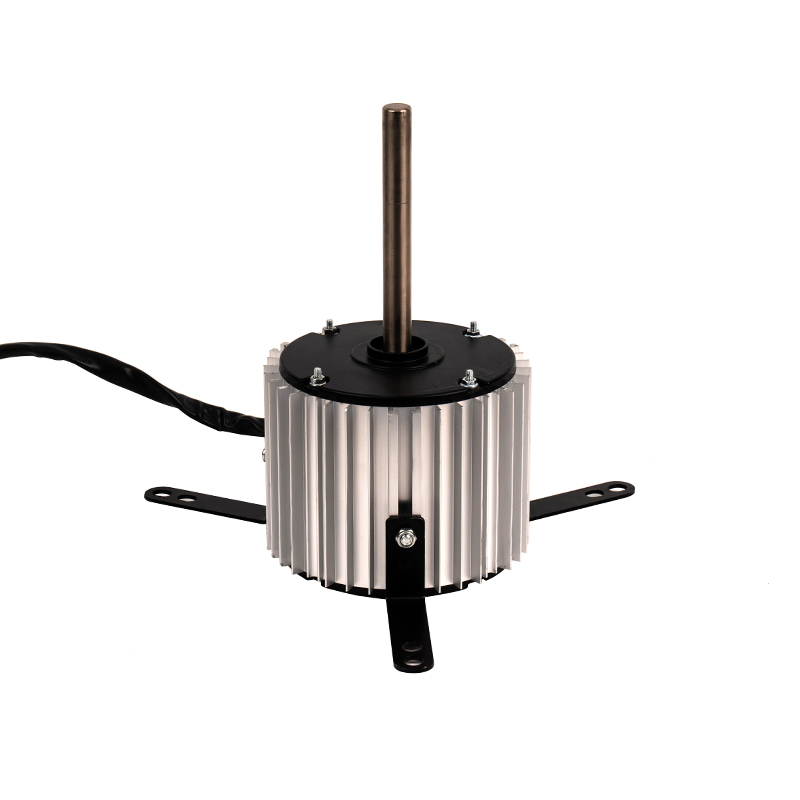
Form factor comes next. Compact hoods often use a motor with a short body and a splined or flattened shaft, while larger chimney models use a longer shaft with a cooling fan at the rear. Check the drawing against the old part rather than the appliance model number alone, since manufacturers change suppliers mid-production.
If you are refurbishing a hood and want lower running noise or stepless speed control, a DC motor is the alternative worth costing. Direct-current hood motors hold efficiency better at low speeds, which matters if the fan spends most of its life on the first setting.
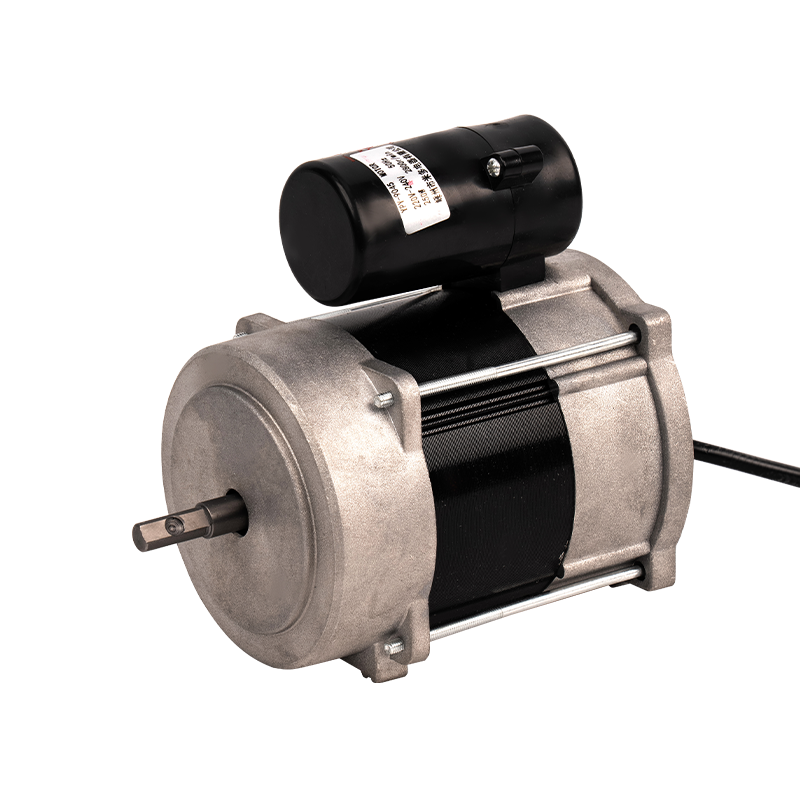 Customizable DC Motor for Range HoodsA customizable hood motor suited to refurbishments where low-speed efficiency, quieter running, and intelligent speed control matter.View Product →
A Maintenance Rhythm That Keeps the Motor Clean
The motor is downstream of everything else in the hood, so protecting it is mostly a filter and airflow discipline rather than a motor task.
- Clean the filters every two to four weeks if you cook with oil regularly; a saturated filter passes far more grease downstream.
- Deep clean the impeller and the housing every six months, and clear the motor vents once a year.
- Check impeller play and mounting screws each time you clean the filters — a loose screw becomes a vibration, and vibration becomes a bearing failure.
- Let the fan run for ten minutes after cooking to carry residual vapour out before it can condense.
- Keep the duct run short and the external flap clear; a restricted duct raises motor temperature every time the hood runs.
Cleaning an extractor fan motor is mostly a matter of restraint. Brush and vacuum the housing, clear the cooling path, keep liquid away from the windings, and leave the bearings alone unless they are serviceable by design. That routine will carry most motors well past the point where the rest of the hood needs attention.
Where restraint stops is the moment the evidence turns internal: a hot housing with clean filters, a rumble that follows the shaft, or the smell of hot varnish. At that point the useful decision is not how to clean harder but which replacement matches the rating plate, the shaft and the capacitor — and, ideally, a sealed enclosure that keeps the next five years of cooking grease on the outside where it belongs.
 ++86 13524608688